Setting up SD-WAN with certificates
- Jelle Leyman

- May 17, 2024
- 2 min read
All the controllers have now been configured with a root certificate. To finalize the controller setup, we still need to provision them with an identity certificate. So in this post we will:
perform basic vManage configuration
add the vBond and vSmart controllers to vManage
generate CSRs for each of the controllers
sign and install the certificates on the controllers
finish setting up the underlay
Basic vManage configuration
So, first off we will log into the vManage GUI and navigate to Administration > Settings. Here we make sure our organization name and vBond IP (10.10.0.183) have been set properly. We will also change the Controller Certificate Authorization from "Cisco" to "Enterprise Root Certificate" and paste in our root certificate.
Adding the controllers to vManage
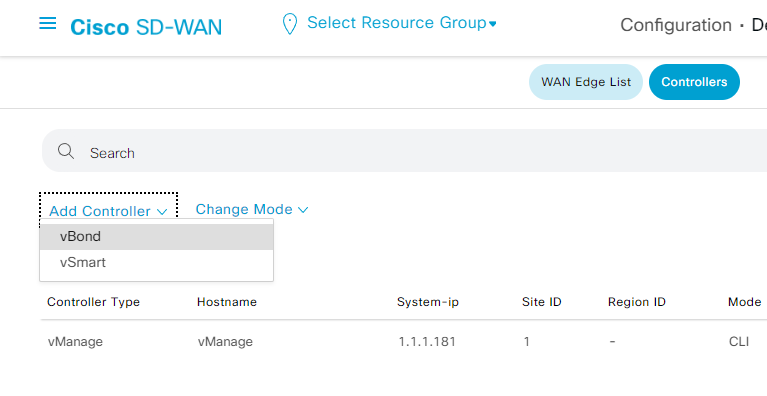
For this we will navigate to Configuration > Devices and at the top, select Controllers. Here we can add both the vBond and vSmart controllers via the "Add Controller" action.
I had some trouble adding my vBond. I kept getting the message "java.net.SocketTimeoutException: connect timed out". Eventually I was able to resolve the issue by turning the vBond interface used for VPN 0 into a tunnel interface. I found this Cisco Community thread to by quite helpful during this issue.
conf t
 vpn 0
  interface ge0/0
    tunnel-interface
      encapsulation ipsec
      commit and-quit
After successfully adding the controllers, you should have the following overview
Generating CSRs and installing the certificates
Via the menu go to Configuration > Certificates and select "Controllers" at the top. Using the 3 dots next to the devices you can now generate your CSRs. Copy each of them and using your favorite text editor in Ubuntu, create 3 separate CSRs.
Next we need to sign these CSRs using our root certificate. We do this for each of the CSRs.
user@ubuntu:~$ openssl x509 -req -in vmanage.csr -CA CA.crt -CAkey CA.key -CAcreateserial -out vmanage.crt -days 365 -sha256

Certificate request self-signature ok
subject=C = US, ST = California, L = San Jose, OU = vallit.be, O = Cisco Systems, CN = vmanage-86a1ed8a-bdf2-4c1f-86bb-cea1fc81e0cc-0.viptela.com, emailAddress = support@viptela.com
Having our relevant certificates we can look at them using cat in Ubuntu and copy them to our clipboard. In vManage we select "Install Certificate" in the top right corner. Here we paste our certificate and vManage will know to which controller the certificate belongs to and assign them accordingly.
After installing all 3 certificates, you should have the following overview:
At this point all of our devices have the root certificate installed as well as an identity certificate signed by the CA.
Finally make sure all of your VPN 0 interfaces are configured as a tunnel interface
#vBond
config t
vpn 0
interface ge0/0
tunnel-interface
encapsulation ipsec
commit and-quit
#vManage
config t
vpn 0
interface eth0
tunnel-interface
commit and-quit#vSmart
config t
vpn 0
interface eth0
tunnel-interface
commit and-quitWe can now go back to our vManage and navigate to Configuration > Devices > Controllers and we will see that our Device Status has now been changed to "In Sync".
Our SD-WAN setup is now ready to start bringing in vEdges and cEdges into our network.


Comments